
· Pro Rend Sussex team
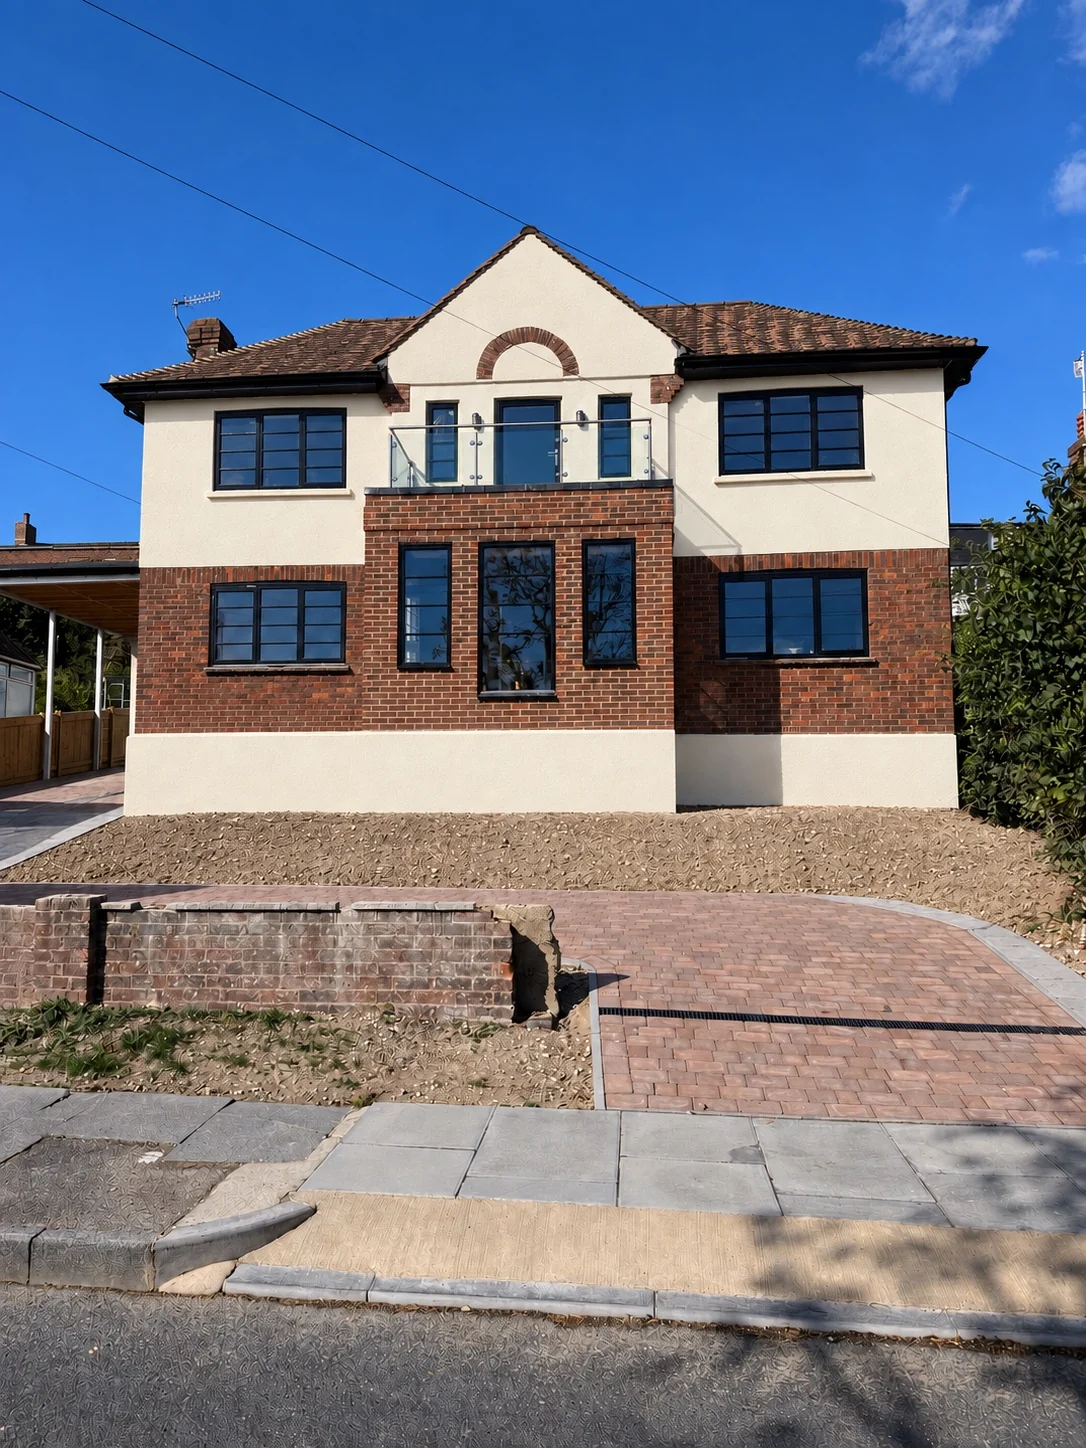
Silicone render is a thin-coat finish applied over a prepared, reinforced background. A good result depends on what happens before the coloured finish goes on: the wall must be suitable, the basecoat must be even, and the details around openings and edges must be planned.
1. Survey the wall and agree the system
The installer first checks the existing background, looking for loose or hollow render, cracks, paint, contamination and signs of moisture. The wall type, exposure, existing coatings and proposed finish all affect preparation. We also measure the elevations and review details such as window sills, downpipes, roof edges, movement joints and the damp-proof course.
Before work starts, the quotation should explain the preparation and the products being used. Silicone finishes are not a cure for a damp source or a moving wall; those issues need to be understood and dealt with as part of the specification.
2. Protect the property and prepare the background
Scaffolding or suitable access is arranged, and windows, doors, paths and nearby surfaces are protected. Loose material is removed and the background is cleaned and repaired. Depending on the condition of the wall, the system may need a compatible primer, levelling coat or local reinforcement. Any repairs should be allowed to cure as required by the chosen products.
3. Fit beads and reinforce the basecoat
Stop beads, corner beads and other specified trims create straight edges and help manage junctions. The installer applies a compatible basecoat and embeds reinforcing mesh into it, keeping the mesh flat and correctly overlapped. Extra reinforcement is commonly needed around openings and at vulnerable corners, following the system instructions.
The reinforced layer needs to be even and fully set before the next stage. The exact products, thicknesses, drying times and preparation method should follow the technical guidance for the selected system rather than a generic rule.
4. Prime and apply the silicone finish
Where the system requires it, the basecoat is primed and left for the stated drying time. The silicone render is then applied at the specified thickness and worked consistently to achieve the chosen texture. Working wet edges carefully and keeping the finish coat continuous helps avoid visible joins or changes in texture.
Weather matters. Render should be installed only within the product’s stated temperature and weather limits. Rain, frost, strong direct sun or drying wind can affect application and curing, so the installer should check the forecast and the manufacturer’s instructions before starting.
5. Check the finish and hand over the details
After the finish has cured, the team checks coverage, edges, beads, openings and junctions, removes protection and leaves the area tidy. Ask for the product and colour details and any applicable manufacturer guarantee information. Guarantee coverage depends on the system installed and the manufacturer’s terms.
How long does silicone rendering take?
There is no single timescale. Wall area, access, preparation, the number of details, drying conditions and the selected system all affect the programme. A site visit is the best way to estimate the work and identify anything that could extend it.
Is silicone render suitable for every wall?
No single finish suits every building. The background must be sound and compatible with the proposed build-up. Older solid-wall properties, painted walls and previously rendered elevations may need a different approach. A proper assessment should explain why the chosen system is suitable.
For manufacturer guidance, see EWI Pro system build-ups and the Ceresit insulation system information. The specification for a particular property should always be checked against the technical documents for the exact products being used.