
· Pro Rend Sussex team
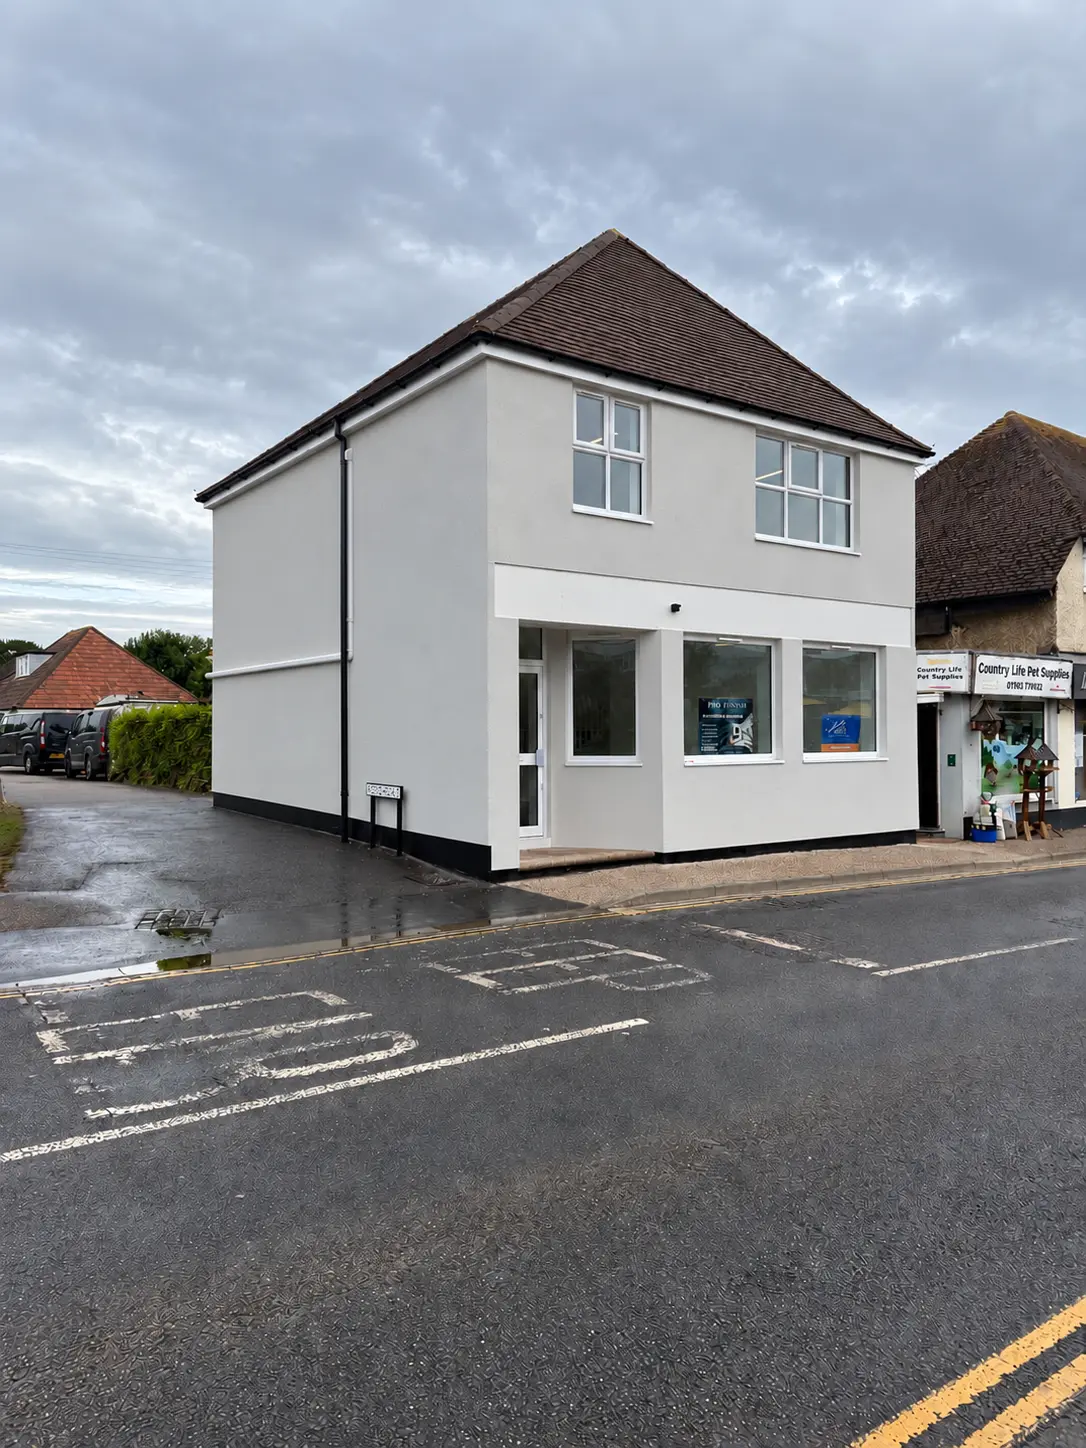
External wall insulation adds a new insulated and rendered layer to the outside of a building. That changes the position of the finished wall face, so windows, sills, downpipes, vents, cables and other fittings cannot be treated as afterthoughts.
A good survey records every junction before the system is specified. The correct detail depends on the property, insulation thickness and chosen manufacturer system, but the decisions below should be made before boards are fixed.
Window and door reveals
The insulation should continue into reveals where the design and available space allow. This helps reduce a weak point in the thermal layer, but the detail must also preserve usable openings, clear frames and provide a weather-resistant junction. The system specification may use reveal insulation, reinforcing mesh, corner reinforcement and a proprietary window sealing or reveal bead.
Existing frame positions, opening clearances and any planned window replacement should be discussed early. Replacing windows after EWI can disturb finished junctions, so coordinating both jobs at the design stage usually gives a cleaner result.
Window sills and water shedding
The new wall face can project beyond an existing sill. Where the sill no longer reaches far enough, the design may require a compatible oversill or a replacement sill with a suitable drip detail. Its purpose is to discharge rain clear of the finished façade rather than letting water track back onto the render.
EWI Pro’s current technical library includes separate drawings for an oversill profile, window heads and reveal details. The exact projection, end details and seal arrangement should follow the selected system drawing and the conditions at that window.
Downpipes and rainwater goods
Rainwater pipes are commonly removed or moved away from the original wall so the insulation can remain continuous behind them. They are then refitted using a suitable fixing arrangement. Gutter outlets, offsets and connections may need adjustment because the finished wall sits farther out.
Fixings should be planned for the weight and exposure of the item. EWI is not a load-bearing surface, so brackets and heavier attachments need an appropriate fixing back to the supporting structure or another manufacturer-approved detail. EWI Pro publishes drawings for rainwater goods and for structural or heavy objects attached through an insulated system.
Air bricks, vents and extract terminals
Operational air bricks and ventilation openings must remain open. They may need to be extended through the insulation and finished with a proprietary cover or system detail. The EWI Pro technical library includes details for extending air bricks, subfloor vents and extractor terminals.
Boiler flues, gas pipes and combustion ventilation need particular care. These should be identified during the survey and coordinated with the system designer and the appropriately qualified trade. Do not cover, reduce or casually move a ventilation opening.
Cables, lights and other fittings
Small services still need deliberate routes and sealed penetrations. Cables may require sleeves or purpose-made details, while lights, signs, canopies, gates and satellite dishes need fixings suited to their loads. Attaching a fitting only to the render or insulation can damage the system and create an insecure connection.
If a future fitting is likely, discuss it before the façade is completed. The installer or system designer can identify an appropriate location and fixing method, which is easier than cutting into an unknown finished build-up later.
The base of the wall and ground level
The plinth and damp-proof-course area often uses a different detail or material from the main elevation because it is more exposed to splash water and impact. On Pro Rend’s completed Rustington residential EWI project, the specified build-up used 50 mm external wall insulation with 30 mm XPS below the damp-proof course and an AquaBase finish in that lower area. That is a record of this particular project, not a standard specification for every home.
EWI Pro’s technical library includes base and plinth drawings, including insulated and uninsulated arrangements. Ground levels, paths, decking, drainage and the existing damp-proof course all need checking before the lower-wall detail is chosen.
Rooflines, eaves and boundaries
Insulation thickness also affects roof overhangs, soffits, verges, abutments and narrow side passages. A survey should confirm whether there is enough weather protection and space for the proposed build-up. Terraced boundaries and tight access points may require a designed termination rather than simply stopping the insulation wherever space runs out.
What should appear in an EWI quotation?
- The insulation type and proposed thickness, subject to the final system design.
- How window and door reveals, heads and sills will be treated.
- Plans for downpipes, vents, air bricks, cables and external fittings.
- The base, damp-proof-course and ground-level detail.
- Roof, verge, soffit and boundary junctions.
- Who will coordinate specialist services such as gas flues or electrical fittings.
- The named system components and the handover information supplied on completion.
After the installation
Keep air bricks and vents clear, and inspect seals around windows, doors, pipes and other penetrations as part of normal maintenance. EWI Pro’s operations and maintenance guidance recommends annual checks of mastic seals. If a new heavy item is to be attached later, ask the installer or system designer for the correct fixing detail before drilling.
For the manufacturer references used in this guide, see EWI Pro technical documentation and its operations and maintenance guide. A property-specific specification should always follow the current documents for the exact system being installed.